


How to Use Rolling Knee Pads for Efficient Floor Tile Installation
Laying a floor is physically demanding. You crouch, kneel, stretch, and shift your weight hundreds of times. Each movement puts stress on your joints, and by the end of the day, your knees may be sore enough to change how you walk. Rolling knee pads offer a practical way to reduce that strain while helping you work faster and more consistently.
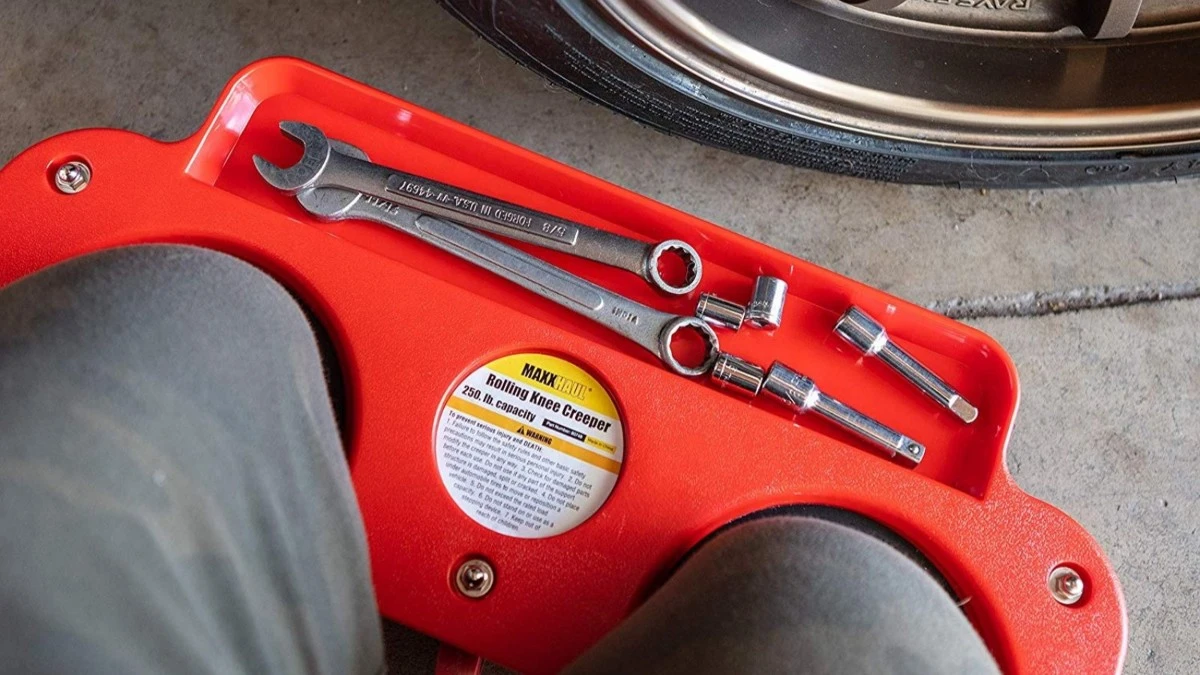
This guide explains how to use rolling knee pads for efficient floor tiling, from setup and positioning to working in rows and handling corners. You will also learn which habits to avoid and how to combine using knee pads with other tiling tools for better results. Whether you are a contractor or a first-time DIYer, the goal is the same: protect your body, improve accuracy, and finish the job with less fatigue.
Why Rolling Knee Pads Improve Floor Tiling

The most obvious benefit of rolling knee pads is comfort, but comfort is only the beginning. A good kneeling tool changes how you move across the floor and how long you can stay productive.
Less Standing and Kneeling
Without a rolling pad, every adjustment requires standing up, moving, and kneeling again. With a rolling pad, you stay low and glide to the next tile. This reduces repeated strain on your knees, hips, and lower back.
More Consistent Tile Alignment
When you move smoothly instead of standing and repositioning, your body stays oriented to the layout. That makes it easier to maintain straight grout lines and spot uneven tiles early.
Better Use of Energy
Tiling is not just about muscle strength. It is about maintaining focus over hours of repetitive work. Reducing unnecessary movements preserves energy for cutting, spacing, and leveling-the steps that actually determine quality.
Choosing the Right Rolling Knee Pads
Not every rolling knee pad suits every project. Before learning technique, make sure your equipment matches the tile size, room layout, and type of flooring you will work on.
Types of Rolling Knee Pads

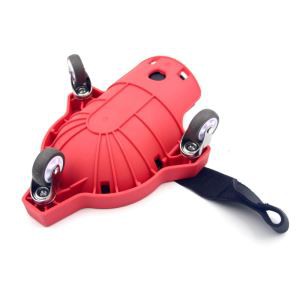
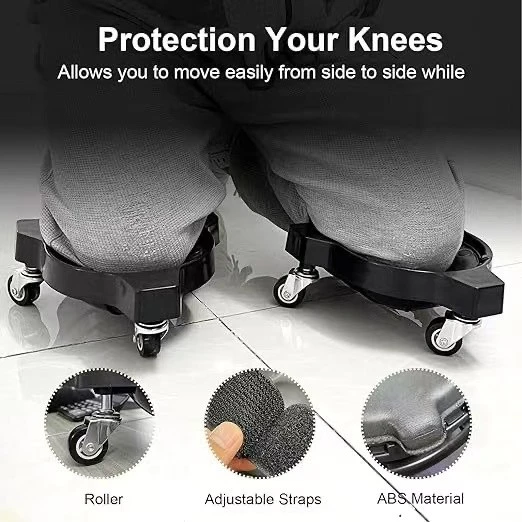
- Dual knee pads: One pad straps to each knee. They offer maximum freedom of movement and are ideal for standard ceramic or porcelain floor tile.
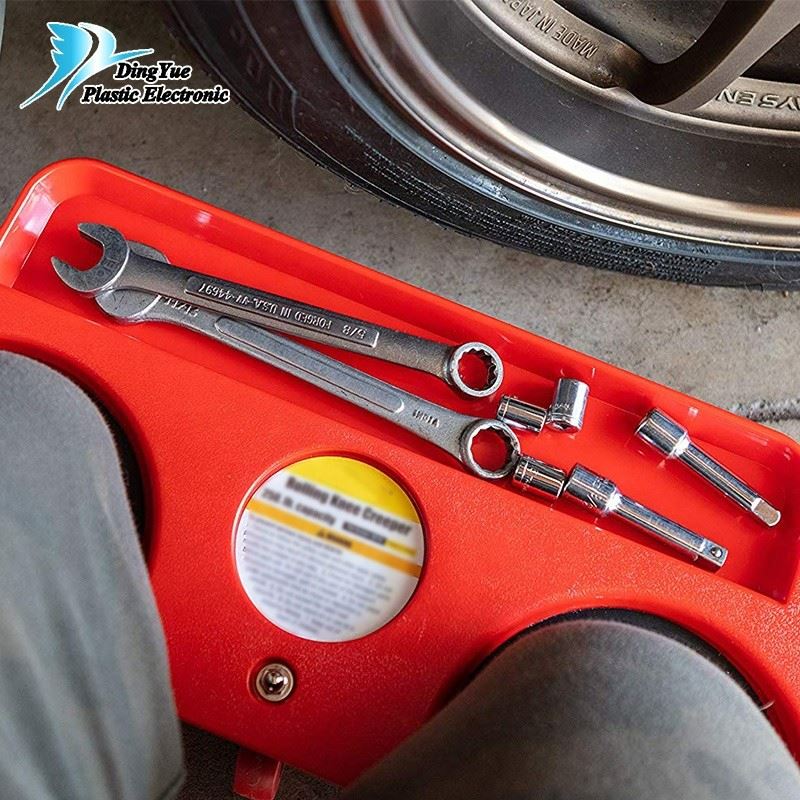
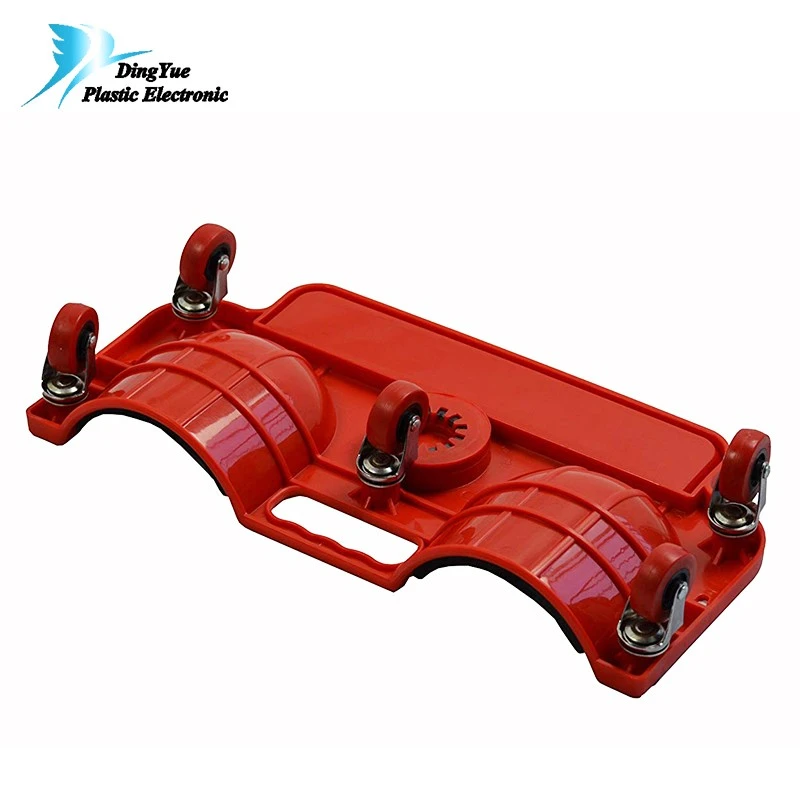
- Single-platform creeper: Both knees rest on one platform. This style often includes a tool tray and works well for larger tiles or repair work.
- Hybrid seated rollers: These support both knees and allow you to sit back between movements. They are useful for extended sessions but can be bulky in small rooms.
Features That Matter Most
- Wheel quality: Look for smooth, non-marring swivel casters. They should roll easily on tile, concrete, or wood without leaving marks.
- Cushion thickness: A thicker gel or foam pad reduces pressure on the knee joint, especially during long installs.
- Strap security: Adjustable straps should hold the pad in place without cutting off circulation.
- Weight capacity: Check the manufacturer's rating, particularly for seated or creeper-style pads.
- Low profile: A lower center of gravity improves balance and reduces back strain.
| Pad Type | Best Use Case | Main Advantage | Consideration |
|---|---|---|---|
| Dual knee pads | Standard floor tile, tight spaces | Agility and precise movement | Requires practice to coordinate both knees |
| Single-platform creeper | Large tiles, tool-heavy work | Stability and storage | Less nimble in corners |
| Hybrid seated roller | Full-day installs, big rooms | Reduced knee load | Heavier and less portable |
Preparing Your Workspace for Efficient Tiling
A rolling knee pad works best when the entire workspace supports smooth movement. Preparation prevents wasted trips, awkward reaching, and interruptions that break your rhythm.
Check the Subfloor
Make sure the surface is clean, dry, and level. Remove debris that could interfere with the wheels. If the subfloor is uneven, use a self-leveling compound before laying tile. Rolling pads cannot correct structural dips.
Plan Your Layout
Dry-lay a row of tiles from the center of the room toward the walls. Mark reference lines so you can track your progress without second-guessing spacing. A clear layout also tells you where to position your knees as you move forward.
Organize Materials Within Reach
Keep tiles, spacers, wedges, and tools arranged in a logical sequence. If you are using a creeper with a tool tray, place frequently used items there. Avoid placing materials directly in your rolling path.

Wear Appropriate Clothing
Knee pads strapped directly to the skin can cause irritation. Wear long pants or knee sleeves for comfort. Shoes with good grip are important when you do need to stand up.
Step-by-Step Technique for Using Knee Pads
The key to kneeling tool technique is developing a smooth, repeatable rhythm. Once the basic movements feel natural, your speed and accuracy will improve without extra effort.
Step 1: Get Comfortable Before You Start Tiling
Strap on the pads and roll forward, backward, and side to side. Practice stopping without using your hands. Make sure the pads stay centered on your knees and do not slide down your legs.
Step 2: Start at the Reference Line
Begin tiling from the center or focal point of the room, not from a wall corner. Position yourself so your body faces the working area and your knees are aligned with the row.
Step 3: Apply Adhesive in Manageable Sections
Spread thinset only as far as you can tile within the product's working time. This prevents the mortar from drying before the tiles are set. A notched trowel helps create even ridges for consistent adhesion.
Step 4: Set Each Tile with Controlled Pressure
Press the tile firmly into the adhesive using a slight twisting motion if recommended by the thinset manufacturer. Avoid slamming the tile down, which can create air pockets or uneven edges.
Step 5: Insert Spacers and Check Alignment
Place spacers at tile corners to maintain uniform grout lines. Then use a leveling wedge or clip system to correct height differences. The rolling pad allows you to inspect multiple tiles without standing up repeatedly.
Step 6: Roll Forward in a Controlled Pattern
After completing a small section, shift your weight slightly, then glide forward on the pads. Keep movements low and balanced. Avoid sudden jerks that could shift newly placed tiles.
Step 7: Maintain Your Workspace as You Go
Wipe away excess mortar before it dries. Keep the rolling path clear so the wheels do not pick up debris. If you notice the pads losing traction, pause to clean the wheel surfaces.
Step 8: Remove Spacers at the Right Time
Take out spacers once the adhesive has set but before it fully cures, usually within 24 hours. Leaving spacers too long can make removal difficult and may damage the tile edges.
Advanced Movement Patterns for Larger Rooms
Once you master basic forward rolling, you can adapt your movement to different room shapes and tiling patterns. The right pattern reduces unnecessary motion and keeps your grout lines consistent.
Working in Straight Rows
For a grid layout, move in straight lines along each row. Complete one row before starting the next. This helps maintain reference points and prevents you from reaching across freshly laid tiles.
Using a Staggered or Brick Pattern
With offset patterns, plan your movements around the repeated shift in tile edges. Roll forward in line with the current row, then reposition sideways only when necessary. Avoid crossing over tiles that have not fully set.
Tackling Corners and Edges
Approach corners slowly and keep most of your weight on the leading knee. If the rolling pad cannot fit, finish the final tiles on a small stationary kneeling pad. Never force the rolling mechanism into a tight area.
Large-Format Tile Strategy
For large tiles, use a single-platform creeper or a wider stance with dual pads. The extra stability helps manage the tile's weight and makes it easier to apply even pressure across the surface.
Common Mistakes When Using Rolling Knee Pads
Even a great tool can cause problems if it is used incorrectly. These are the most common issues and how to avoid them.
- Rolling over fresh tiles: Wait until the adhesive has set enough to support weight. Rolling across wet tiles can shift them out of alignment.
- Using dirty wheels:
- Dust and mortar buildup reduce traction and can scratch the floor. Clean wheels at the start of each session.
- Over-tightening straps: Straps should be snug but not restrictive. Poor circulation leads to numbness and fatigue.
- Starting too far from the center: Beginning at a wall makes it harder to maintain symmetry and often creates awkward cuts.
- Ignoring knee pain: Some discomfort is normal, but sharp or lasting pain means you should stop and adjust your setup or posture.
- Leaving spacers in too long: Spacers should be removed before the thinset fully cures to avoid damaging grout joints.
- Reaching instead of repositioning: Overreaching compromises balance and tile alignment. Move your whole body forward instead.
Cleaning and Maintaining Rolling Knee Pads
Proper care extends the life of your pads and ensures they perform well on every project. A few minutes of maintenance can prevent costly replacements.
Clean After Every Use
Remove dust, mortar, and debris with a soft brush or damp cloth. Pay special attention to the wheels, where buildup can affect rolling and steering.
Inspect Wheel Bearings
Spin each wheel by hand. If a wheel sticks or wobbles, check for debris or damage. Replace worn casters promptly to maintain smooth movement.
Check Cushions and Straps
Look for cracks, compressed foam, or frayed straps. Replace cushions when they no longer provide adequate support. Adjust or replace straps that no longer hold securely.
Store in a Dry Place
Moisture can degrade foam and corrode metal components. Hang dual pads or store creepers on a shelf where air can circulate.
Adapting the Technique for Different Users
Not everyone has the same strength, flexibility, or experience. Fortunately, rolling knee pad technique can be adjusted to fit your needs.
For Beginners
Start with a small area, such as a bathroom or laundry room. Practice rolling and setting tiles without adhesive until the movements feel natural. Focus on alignment before speed.
For Experienced Installers
Use the pads to maintain a steady pace over larger areas. Combine smooth rolling with a pre-planned layout to minimize unnecessary movements.
For Users with Knee Issues
Choose a wider, more cushioned platform and avoid deep kneeling positions. A seated hybrid roller can transfer some weight away from the knees while still allowing controlled movement.
For DIYers Sharing Tools
If more than one person uses the pads, adjust straps carefully for each user. Do not assume a setting that works for one person will fit another.
Frequently Asked Questions
Can I use rolling knee pads on any floor surface?
Most rolling pads work best on smooth, hard surfaces such as concrete, cement board, or finished flooring. On thick carpet or rough outdoor terrain, the wheels may not roll freely. Clear the path or use a different kneeling solution in those areas.
Do rolling knee pads replace traditional kneepads?
They serve a different purpose. Traditional kneepads protect your knees while stationary; rolling pads add mobility. For tile installation, rolling pads are usually more efficient, but a small stationary pad can help with tight corners.
How do I stop the pads from sliding down my legs?
Use adjustable straps and wear long pants or knee sleeves. Tighten the straps so the pad stays centered without cutting off circulation. If sliding continues, check that the pad size matches your leg circumference.
Is it okay to lean heavily on the pads while cutting tiles?
Support your weight with your whole body rather than relying entirely on the pads. They provide stability, but excessive leaning can strain your knees and reduce control.
Building an Efficient Daily Routine
Over time, experienced tilers develop a routine that combines preparation, movement, and cleanup into one continuous flow. You can build your own routine using the principles above.
- Set up the workspace: clean floor, layout lines, organized materials.
- Prepare tools: pads adjusted, wheels clean, spacers and wedges ready.
- Spread adhesive in sections: work within the thinset's open time.
- Set tiles with consistent pressure: check alignment as you go.
- Roll forward deliberately: keep movements low and balanced.
- Clean as you work: wipe mortar, clear debris, inspect wheels.
- Finish with care: remove spacers, clean tools, store pads properly.
Following the same sequence each day helps you spot problems early and maintain a steady pace. It also reduces decision fatigue, allowing you to focus on precision.
Conclusion: Work Smarter, Not Just Harder
Rolling knee pads are more than a comfort upgrade. They are a practical tool for efficient floor tiling when used with the right technique. By preparing your workspace, choosing the correct pad, and developing a smooth rolling rhythm, you can reduce physical strain, improve alignment, and complete projects faster.
Remember that using knee pads effectively is a skill. Start slowly, focus on consistent movements, and refine your process as you gain experience. Pay attention to your body, maintain your equipment, and combine the pads with leveling tools, spacers, and a clear layout.
With practice, good kneeling tool technique becomes second nature. You will spend less time standing and repositioning, experience fewer aches, and produce cleaner, more professional floors. Whether you tile occasionally or every day, protecting your knees is an investment that pays off for years to come.
Hot Tags: right rolling knee pads for tile installation, China, manufacturers, suppliers, factory, customized, wholesale, buy, construction knee pad, Flooring Knee Pads Rolling, knee pads for construction, Milescraft Kneeblades Durable Rolling Knee Pads, rolling knee pad, rolling knee pads with wheels