



How Wedges Contribute to Lippage-Free Tile Installations
A lippage-free installation is the gold standard every tile contractor and homeowner dreams of-yet it remains one of the most misunderstood outcomes in the tiling industry. This definitive guide unpacks the real contribution of tile wedges to preventing uneven tiles, separating verified mechanical facts from marketing hype, and showing you exactly how to engineer a flat, flush, professional surface every time.
Introduction: The Pursuit of a Truly Flat Tile Surface
Walk across a freshly installed floor and close your eyes. If you can feel even a 1/16-inch ledge catching the edge of your shoe, you are experiencing lippage-the vertical displacement between the edges of two adjacent tiles. In the world of lippage-free installation, this tiny difference is the enemy. It catches light, collects dirt, creates trip hazards, accelerates edge chipping, and instantly signals "amateur job" to anyone who looks closely.

The pursuit of flatness has become dramatically more challenging with the rise of large format tiles. Defined as any tile with at least one edge longer than 15 inches (380 mm), these slabs create breathtaking, seamless surfaces-but they also magnify every installation error. A slight bow that would be invisible on a 4-inch tile becomes a glaring 2-3 mm ledge on a 24×48-inch porcelain panel.
Enter the wedge contribution to tile leveling. Tile wedges-used in conjunction with clips as part of a mechanical leveling system-have revolutionized the industry by physically forcing adjacent tiles into the same plane while the adhesive cures. But how exactly do they work? What can they realistically fix, and what lies beyond their capability? And how do you use them to guarantee a lippage-free installation?
Core Takeaway
- Wedges are precision clamping tools that lock adjacent tiles into the same plane during adhesive cure-they are not magic wands that fix bad substrates.
- Wedges work by applying consistent, repeatable downward pressure that counteracts tile warpage, mortar slump, and gravitational shift.
- The full system-proper substrate prep + correct mortar + wedge leveling + adequate cure time-is what produces truly lippage-free results.
-

The Mechanics of Wedge Contribution to Lippage-Free Installation
Now we arrive at the heart of the matter: how exactly do wedges contribute to preventing uneven tiles? Despite marketing claims, wedges are precision clamping tools, not miracle workers. Understanding their true mechanical contribution is essential for using them effectively.
The Three-Component System
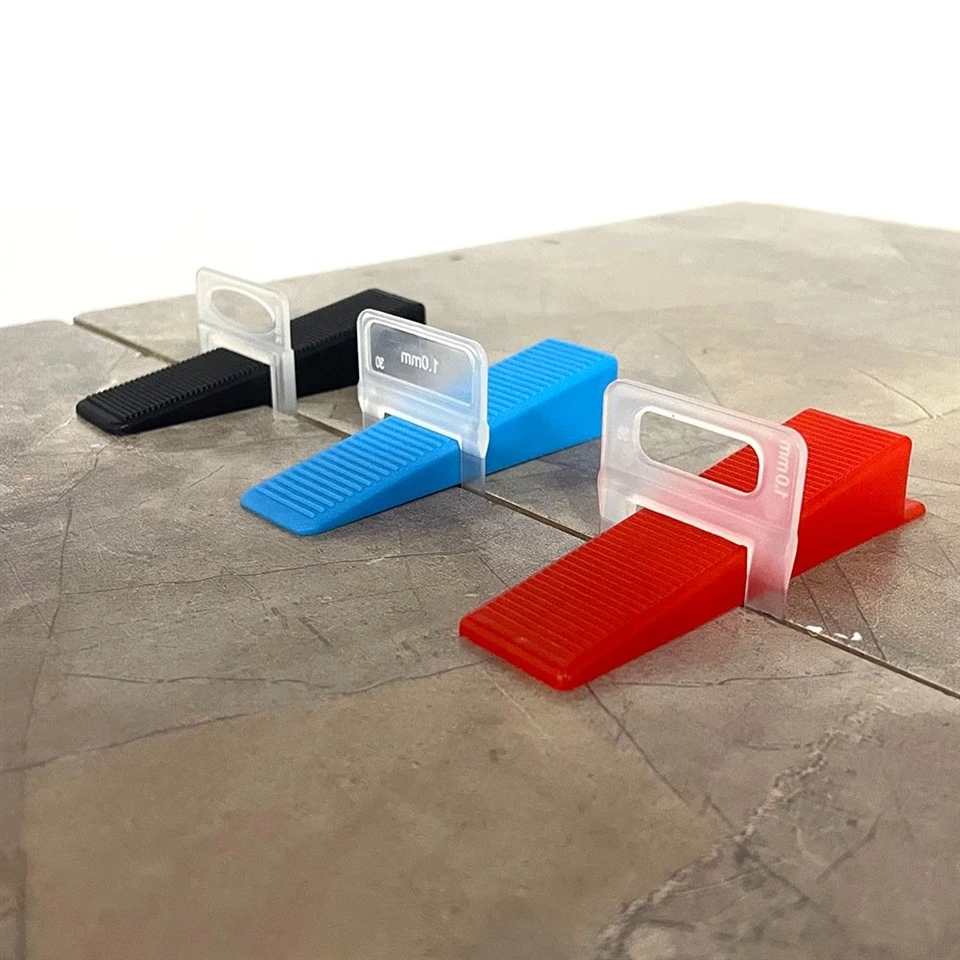
A clip-and-wedge leveling system consists of three integrated parts:
- The Clip (Base): A thin plastic piece positioned under the tile edges within the fresh mortar bed. The clip's strap rises vertically between the two tiles, forming the anchor point.
-

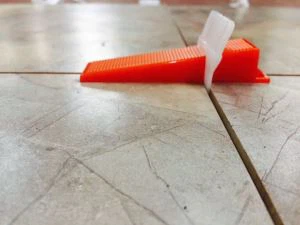
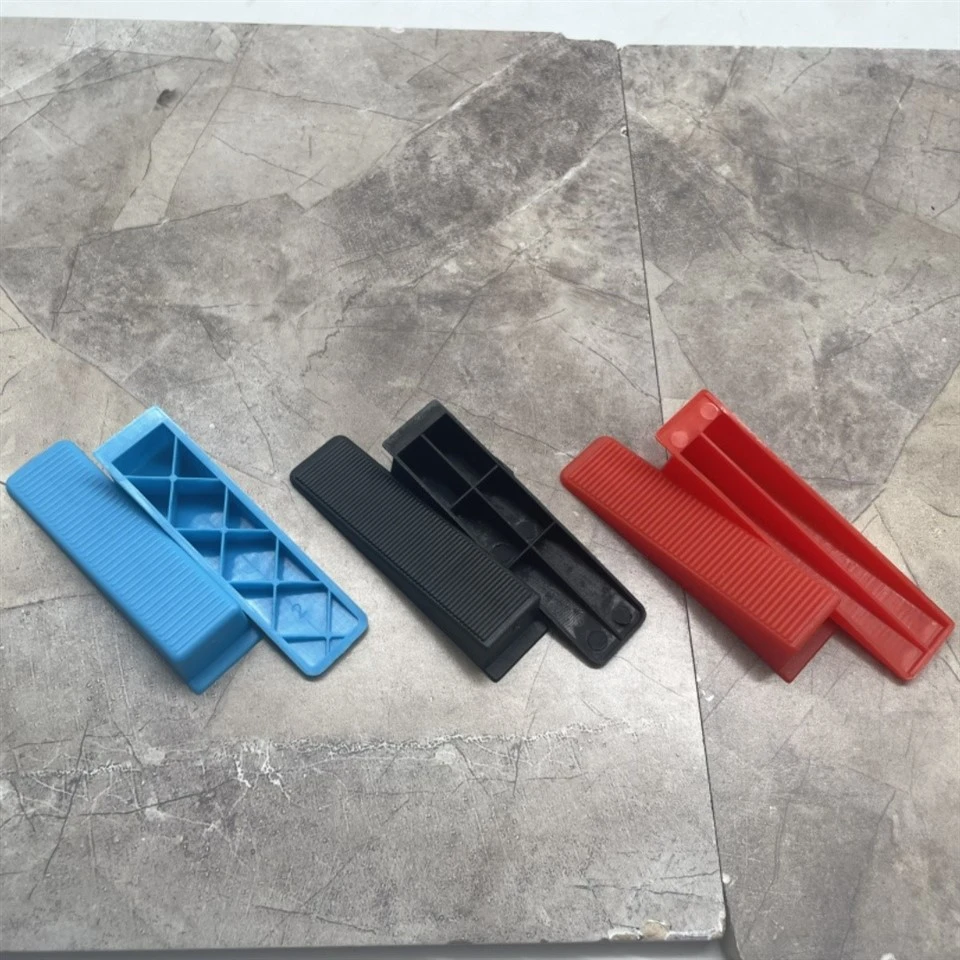
- The Wedge: A reusable triangular plastic component that slides into the clip's slot. As it's driven downward (by hand pressure, a rubber mallet, or specialized pliers), it applies upward force to the clip's shoulders, which in turn presses down on both adjacent tile edges.
-

- The Tightening Tool (Optional): Pliers or a torque-controlled device that applies calibrated pressure to the wedge for consistent, repeatable force.
-

How Wedges Counteract Lippage Forces
Wedges contribute to lippage-free installation through four distinct mechanical actions:
Action 1: Counteracting Tile Warpage
When a wedge is driven into the clip, it generates downward pressure on the exposed edges of both adjacent tiles. This force directly opposes the upward "spring" of a warped tile edge. By clamping the edges flush during cure, the wedge essentially "trains" the warped tile to conform to its neighbor's plane. This is particularly crucial for long, wood-look planks that naturally bow in the middle during kiln firing.
Action 2: Preventing Mortar Slump and Tile Settlement
Heavy tiles tend to sink into soft, wet adhesive. The wedge acts as a mechanical arrestor-it locks the tile edges at a fixed height relative to the substrate, preventing the tile from settling deeper into the mortar bed than its neighbor. This is especially critical during the first 4-6 hours when the mortar is most plastic.
Action 3: Eliminating Gravitational Shift on Walls
On vertical surfaces, gravity constantly tries to pull tiles downward. Without wedges, a tile can creep down by 1-2 mm overnight, creating severe lippage at the bottom row. The wedge system creates a rigid mechanical interlock that holds each tile in its exact installed position until the adhesive develops sufficient strength.
Action 4: Forcing Uniform Joint Height
Beyond just preventing lippage, wedges ensure that the top surfaces of adjacent tiles remain coplanar. This is visually distinct from just maintaining joint width-a spacer alone maintains gap distance but does nothing to align heights. The wedge's contribution is specifically to the vertical plane, which is what the human eye (and foot) actually perceives as "flat."

The Complete Lippage-Free Installation Workflow
Achieving a truly lippage-free installation requires orchestrating multiple variables in harmony. The wedge is one instrument in a larger symphony. Here is the complete, standards-compliant workflow:
Phase 1: Substrate Assessment and Correction
Begin with a 10-foot straightedge and verify flatness in multiple directions. For large format tiles, you need ≤1/8″ variation over 10 feet and
Document substrate condition with photographs before proceeding. This phase alone eliminates the majority of potential lippage complaints.
Phase 2: Mortar Selection and Mixing
Mix strictly per manufacturer instructions. Too much water weakens the bond; too little prevents proper hydration. Let the mortar slake for 10 minutes, then remix briefly before application.
Phase 3: Trowel Technique and Back-Buttering
Select the correct notch size-typically 1/2″×1/2″ square-notch for tiles up to 24×24, and 3/4″×1/2″ for larger formats. Apply mortar to the substrate using directional troweling-comb the ridges in the same direction. This allows air to escape when the tile is pressed down.
Then back-butter the tile: apply a thin, flat layer of mortar to the entire back of the tile using the flat side of the trowel. This achieves the ANSI-required 95% coverage for large format tiles in wet areas (80% in dry areas). Directional troweling on both surfaces, with ridges aligned, collapses evenly to eliminate voids.
Phase 4: Tile Placement and Clip Positioning
Set the first tile into the fresh mortar bed and press firmly, using a slight twisting motion to collapse the ridges. Immediately slide a clip under the tile edge so its base sits flush against the substrate.
Install the adjacent tile, aligning it with the first. The clip straps from both tiles should now rise side-by-side in the joint.
Phase 5: Wedge Insertion and Tightening
Insert a wedge into the clip slot. Using a rubber mallet or specialized pliers, drive the wedge downward until you feel firm resistance. The goal is to apply enough pressure to bring both tile edges into the same plane-you should see a tiny bead of mortar squeeze out from under the tile edges, confirming full contact.
Phase 6: Cure Time and Environmental Control
Maintain manufacturer-specified temperature and humidity ranges. Do not disturb the wedges for at least 24 hours-48 hours in cool or humid conditions. During this window, the wedge contribution is at its peak: it's actively holding the tiles in perfect alignment while the adhesive develops structural strength.
Foot traffic must be strictly prohibited. Even careful stepping can transmit enough force to micro-shift a tile, undoing the wedge's work.
Phase 7: Wedge and Clip Removal
After full cure, strike the wedges sideways with a mallet-they should pop out cleanly for reuse. Then remove the clips by striking them in the direction of the grout joint. This is critical: hitting the clip perpendicular to the joint can chip the tile edges. The clip breaks off below the tile surface, leaving a clean recess for grout.
Phase 8: Grouting and Finishing
Clean mortar residue from the joints, then apply a flexible, high-performance grout suitable for large format tiles. Flexible grout accommodates the microscopic thermal and structural movements that large tiles experience. After grouting, polish the surface and apply sealer if required by the grout type.

Frequently Asked Questions About Wedges and Lippage-Free Installation
Q1: How many wedges and clips do I need per square meter?
For tiles up to 60×60 cm: 8-12 clips per m². For 60×120 cm tiles: 15-20 clips per m². For larger panels (90×180 cm or 120×120 cm): 20-30 clips per m². Always purchase 10-15% extra to account for breakage and mistakes. Wedges are reusable, so you need roughly one wedge per clip used simultaneously-for a 100 m² floor, you'd need about 1500-2000 clips but only 200-300 wedges (assuming you work in sections and reuse them as you progress).
Q2: What tile thickness can wedge systems accommodate?
Most standard clip-and-wedge systems handle tiles from 6 mm to 14 mm thick. Heavy-duty systems extend this range to 22 mm or more for thick porcelain pavers and natural stone. Always verify the specific thickness range of your chosen system before purchase-using a wedge outside its designed range results in poor clamping force and potential failure.
Q3: Do wedges work on walls, or are they only for floors?
Wedges are absolutely essential for wall installations, arguably even more so than for floors. Gravity constantly pulls wall tiles downward; without mechanical wedges, a tile can creep 1-2 mm overnight, creating severe lippage at the bottom row. Wall-specific wedge systems feature geometry optimized to resist this gravitational creep. Use them on every large format wall tile installation.
Q4: Can I reuse wedges indefinitely?
Wedges are designed for multiple reuses, but they do wear. After each use, inspect for: cracks, deformation of the taper, rounded edges that reduce grip, or warping. A damaged wedge applies inconsistent pressure, undermining the entire leveling effort. Soak used wedges in warm water to remove dried mortar, scrub with a stiff brush (never metal tools), and discard any that show wear. With proper care, a wedge can be reused 10-20 times before replacement is necessary.
Q5: How does wedge contribution differ from screw-cap leveling systems?
Both systems achieve the same goal-holding adjacent tiles coplanar during cure. The difference lies in pressure consistency and application speed:
- Wedges: Faster to install (tap with mallet), lower cost per set, but pressure varies based on installer force. Best for standard installations where moderate precision suffices.
- Cap-and-screw: Slower (hand-spin each cap), higher cost, but provides exceptional, repeatable pressure control. Best for demanding installations (24×48+ panels) where consistent pressure across dozens of points is critical to prevent any single high corner.
The wedge contribution to lippage prevention is mechanically identical in both systems-the difference is precision and consistency, not fundamental capability.
The Long-Term Value of Wedge-Driven Lippage-Free Installation
Investing in proper wedge usage delivers returns that extend far beyond the immediate visual appeal:
- Eliminated Callback Costs: A lippage-free floor generates zero complaints, zero remediation visits, and zero warranty claims. For contractors, this translates directly to improved profitability and reputation.
- Extended Tile Lifespan: Evenly supported tiles distribute foot traffic stress across their entire surface rather than concentrating it at vulnerable edges. This dramatically reduces edge chipping and grout joint failure, extending the installation's lifespan by years.
- Reduced Maintenance: Lippage-free joints collect less dirt and debris. Cleaning is faster and more effective. Grout lines remain intact longer without the stress fractures that lippage induces.
Hot Tags: Wedges Lippage-Free Tile Installations, China, manufacturers, suppliers, factory, customized, wholesale, buy, 1 16 Tile Spacer, 1 2 Tile Spacer, Raimondi Tile Leveling System Floor Pliers, T pin Tile Leveling System, tile leveling spacer, Tile Leveling System With Adjustable Pliers